Easy Cocoa Frosting: Get a Glossy, Pourable Glaze in 60 Seconds
In the bustling world of home baking, time is often the most precious ingredient. We all crave that moment of indulgence – a slice of moist cake or a rich brownie – but the thought of whipping up a complicated frosting can quickly deflate our culinary ambitions. What if we told you that achieving a professional-looking, decadently glossy chocolate topping could take mere seconds? Welcome to the revolution of the easy chocolate frosting, a microwave marvel that delivers a pourable, rich cocoa glaze in just 60 seconds.
Forget the days of lengthy buttercream preparations or intricate ganache tempering. This foolproof method leverages the power of your microwave and the bold flavor of cocoa powder to create a quick-setting, shiny glaze that elevates any dessert. Whether you're topping a classic vanilla cake, fudgy brownies, or a simple sheet cake, this recipe promises speed, simplicity, and a finish that looks like you spent hours, not moments.
Why This Easy Chocolate Frosting Will Revolutionize Your Baking
The beauty of this quick cocoa frosting lies in its elegant simplicity and the stunning results it delivers. It's not just fast; it's a game-changer for anyone who loves homemade treats but dreads the elaborate finishing touches.
The Magic of Cocoa Powder
Unlike many traditional chocolate frostings that rely on melting chopped chocolate into a base, this recipe cleverly bypasses that step by harnessing the concentrated power of cocoa powder. This isn't just a shortcut; it's a flavor enhancer. Cocoa powder provides a deep, robust chocolate flavor that can often be more intense and less sweet than melted chocolate bars. Historically, especially in the 1940s, cocoa became a popular and affordable alternative to chocolate bars, making such frostings a staple for home bakers. This method ensures a bold, authentic chocolate experience without the need for precise tempering or the risk of seized chocolate. It's a fundamental reason why this particular Minute Microwaved Chocolate Frosting: Fast, Fudgy, Foolproof stands out.
Speed Meets Professional Finish
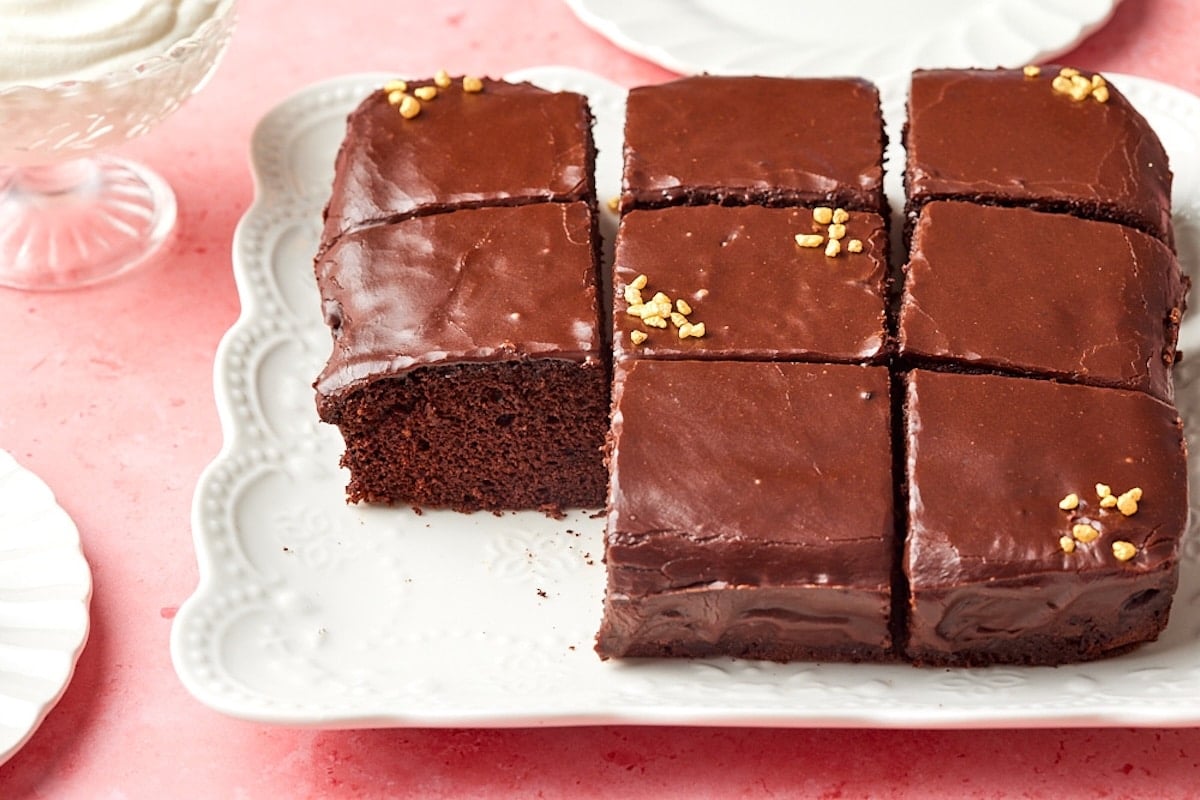
Imagine going from raw ingredients to a ready-to-pour, perfectly glossy chocolate topping in one minute flat. This isn't an exaggeration. The rapid heating in the microwave quickly dissolves the sugar and melds the ingredients, creating a smooth, homogenous mixture. The resulting pourable texture and the inherent shine give your baked goods a remarkably professional finish, reminiscent of a patisserie creation. This quick-setting nature also means less waiting time before you can slice into your beautifully adorned dessert. It’s an incredibly efficient way to achieve a high-quality glaze, making it a go-to Ingredient Chocolate Frosting: Quick Set & Professional Finish.
Mastering the Microwave: Your 60-Second Secret
While the concept of a 60-second frosting sounds almost too good to be true, mastering this technique is crucial for achieving that perfect glossy, non-grainy consistency. The microwave is your friend here, but like any powerful tool, it requires a little attention.
Precision is Key: Avoiding Graininess
The cardinal rule of this microwave frosting is to avoid overcooking. The recipe indeed takes about a minute, but vigilance is key. Once the mixture begins to bubble, it’s time to stop. Overcooking can lead to the sugar crystallizing, resulting in a grainy, unappealing texture. Think of it like making simple syrup; you want the sugar to dissolve, not to boil away excessively or caramelize too much in this context. Every microwave varies in wattage, so it's always wise to check early. A few seconds can make all the difference between a silky-smooth glaze and a frustratingly gritty one. Start with 30-45 seconds, then stir and continue microwaving in 10-15 second bursts until it just begins to bubble. Immediate removal and vigorous stirring will ensure all components emulsify beautifully.
The Warm vs. Cooled Debate: When to Pour
An interesting point of discussion for this easy chocolate frosting is the ideal temperature of your baked goods before application. Some recipes advocate pouring the heated frosting over a warm cake, suggesting it creates a fudgier, slightly absorbed layer that melds with the cake. This can be fantastic for a deeply integrated flavor. Others, however, firmly recommend waiting until your cake or brownies are completely cooled. Pouring on a *completely cooled* surface allows the glaze to set distinctly on top, forming a crisp, defined layer that holds its shape beautifully and provides a satisfying textural contrast. Both approaches have their merits, offering different aesthetic and textural outcomes. Consider what you desire: a glaze that soaks in slightly for an extra fudgy interior, or a standalone, glossy layer on top. For toppings like sprinkles or nuts, they must be added immediately after pouring, regardless of the base temperature, as the frosting sets quickly.
Beyond the Cake: Creative Uses for Your Pourable Glaze
While this easy chocolate frosting is a match made in heaven for cakes and brownies, its versatility extends far beyond. Its pourable, quick-setting nature makes it an excellent choice for a myriad of sweet applications, transforming everyday desserts into special treats.
- Cakes: Classic chocolate or vanilla layer cakes, elegant Bundt cakes, simple sheet cakes, and even poke cakes soak up or are beautifully topped by this glaze.
- Brownies & Bars: A staple topping that adds an extra layer of fudgy goodness and a polished look to any brownie or bar recipe.
- Cupcakes: Drizzle over cooled cupcakes for a lighter alternative to traditional piped frosting.
- Donuts & Pastries: Perfect for dipping or glazing homemade donuts, éclairs, or puff pastry creations.
- Fruit & Ice Cream: Drizzle over fresh fruit (strawberries, bananas) or a scoop of vanilla ice cream for an instant dessert upgrade.
- Dessert Dips: Serve slightly warm as a rich chocolate dip for churros or fruit skewers.
Flavor Variations & Customizations
Don't be afraid to experiment and personalize your easy chocolate frosting. A few simple additions can dramatically alter its character:
- Extracts: A splash of vanilla extract is a classic enhancement. Try peppermint extract for a festive touch, almond extract for a subtle nuttiness, or even a hint of rum or coffee extract for a mocha-inspired glaze.
- Spices: A pinch of cinnamon, a dash of cayenne pepper for a Mexican hot chocolate kick, or a hint of cardamom can add unexpected depth.
- Citrus Zest: Finely grated orange zest, for example, pairs beautifully with chocolate.
- Salt: A tiny pinch of sea salt can really amplify the chocolate flavor and balance the sweetness.
- Cocoa Type: Experiment with Dutch-processed cocoa for a darker, smoother, less acidic flavor, or natural cocoa for a fruitier, more intense chocolate profile.
Tips for a Flawless Application
Applying this pourable glaze is incredibly easy. Once poured, simply tilt the pan or use an offset spatula to gently guide the frosting to cover the entire surface. Work quickly, as it begins to set almost immediately. If you're adding decorative elements like sprinkles, chopped nuts, or candies, sprinkle them on right away before the glaze sets too firmly to ensure they adhere.
Troubleshooting Common Glaze Glitches
Even with an easy chocolate frosting recipe, sometimes things don't go exactly as planned. Here are quick fixes for common issues:
- Too Thick: If your glaze seems too thick to pour smoothly, add a few drops of warm milk (or water) at a time, stirring well after each addition, until it reaches your desired consistency.
- Too Thin: If it's too runny, you can try microwaving it for another 5-10 seconds to reduce some of the liquid, or stir in a tiny bit more powdered sugar (though this can alter the gloss). A brief stint in the refrigerator (5-10 minutes, stirring every couple of minutes) can also help it thicken slightly.
- Grainy Texture: As emphasized, this usually comes from overcooking. Unfortunately, once sugar has crystallized, it's very difficult to reverse. Prevention (stopping at the first bubble) is truly the best cure here.
- Not Glossy Enough: Ensure you've heated it enough for the sugar to fully dissolve and that you've stirred vigorously to emulsify all ingredients. A small amount of butter or a tiny bit of corn syrup can sometimes enhance gloss, but generally, the recipe as is should yield a lovely shine.
Conclusion
The quest for a truly fantastic yet fuss-free dessert topping ends here. This 60-second, microwaveable cocoa frosting is a revelation for any home baker, proving that convenience doesn't have to sacrifice quality or flavor. Its ability to transform simple baked goods into showstoppers with a rich, glossy, and quick-setting finish makes it an indispensable addition to your recipe repertoire. So, the next time a chocolate craving hits, or you need to impress guests with minimal effort, reach for this incredibly easy chocolate frosting. Your taste buds—and your schedule—will thank you.
